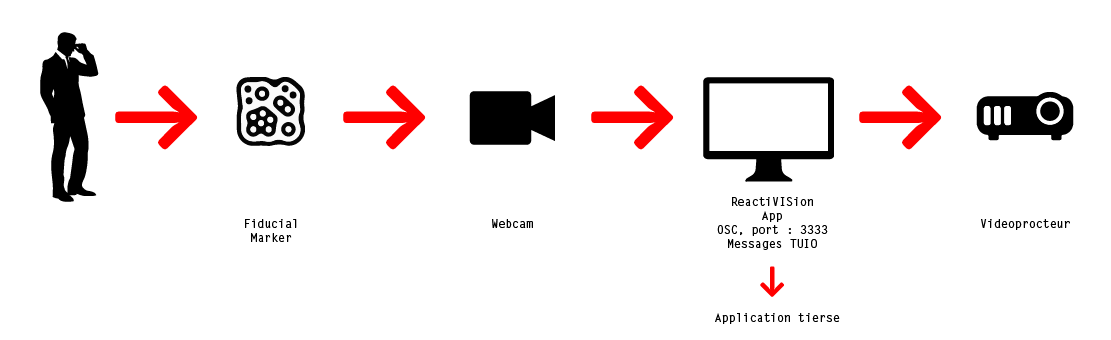
ReactiVISion

Principe de fonctionnement
Téléchargement
Exemple d'utilisation
→ Vimeo
Raccourcis clavier
Many tables, such as the reacTable are using wide-angle lenses to increase the area visible to the camera at a minimal distance. Since these lenses unfortunately distort the image, reacTIVision can correct this distortion as well as the alignment of the image.
For the calibration, print and place the provided calibration sheet on the table and adjust the grid points to the grid on the sheet. To calibrate reacTIVision switch to calibration mode hitting C.
Use the keys A,D,W,X to move within grid, moving with the cursor keys will adjust the position (center point) and size (lateral points) of the grid alignment. By pressing Q you can toggle into the precise calibration mode, which allows you to adjust each individual grid point.
J resets the whole calibration grid, U resets the selected point and L reverts to the saved grid.
To check if the distortion is working properly press R. This will show the fully distorted live video image in the target window. Of course the distortion algorithm only corrects the found fiducial positions instead of the full image.
| Key | Function |
|---|---|
G |
Threshold gradient & tile size configuration |
F |
Finger size and sensitivity configuration |
B |
Blob size configuration & enable /tuio/2Dblb |
Y |
enable/disable Yamaarashi symbol detection |
I |
configure TUIO attribute inversion |
E |
Turns image equalization on/off |
SPACE |
Resets image equalization |
O |
Camera configuration |
K |
Camera selection |
C |
Enter/Exit Calibration mode |
Q |
Toggle quick/precise calibration mode |
U |
Resets selected calibration grid point |
J |
Resets all calibration grid points |
L |
Reverts calibration to saved grid |
S |
Shows original camera image |
T |
Shows binary thresholded image |
R |
Shows calibrated camera image |
N |
Turns display off (saves CPU) |
F1 |
Toggles full screen mode |
P |
Pauses all processing |
V |
Verbose output to console |
H |
Shows help options |
ESC |
Quits application |
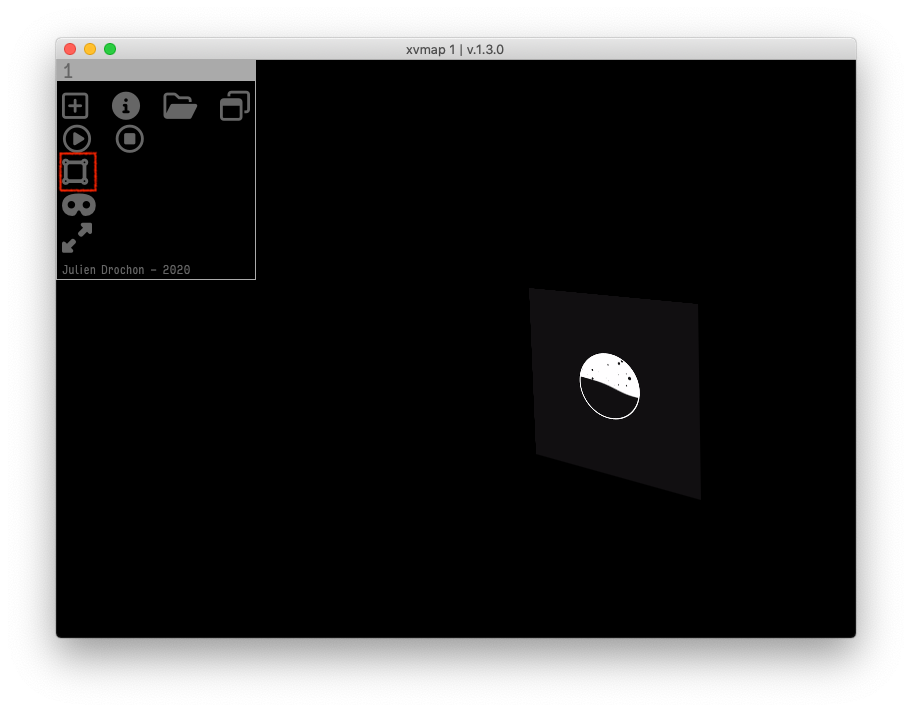
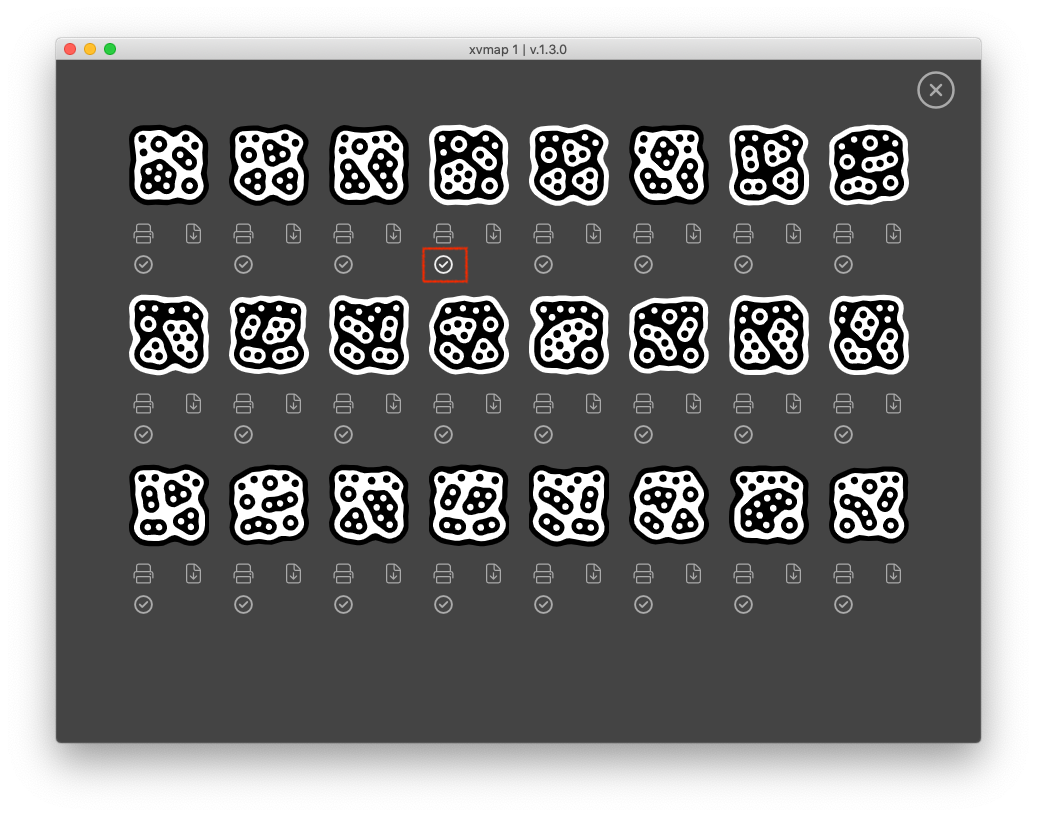
Utiliser avec xvmap
Ouvrir xvmap et éditer un calque vidéo
Activer le mode édition
Sélectionner le calque vidéo à lancer à la détection du marqueur
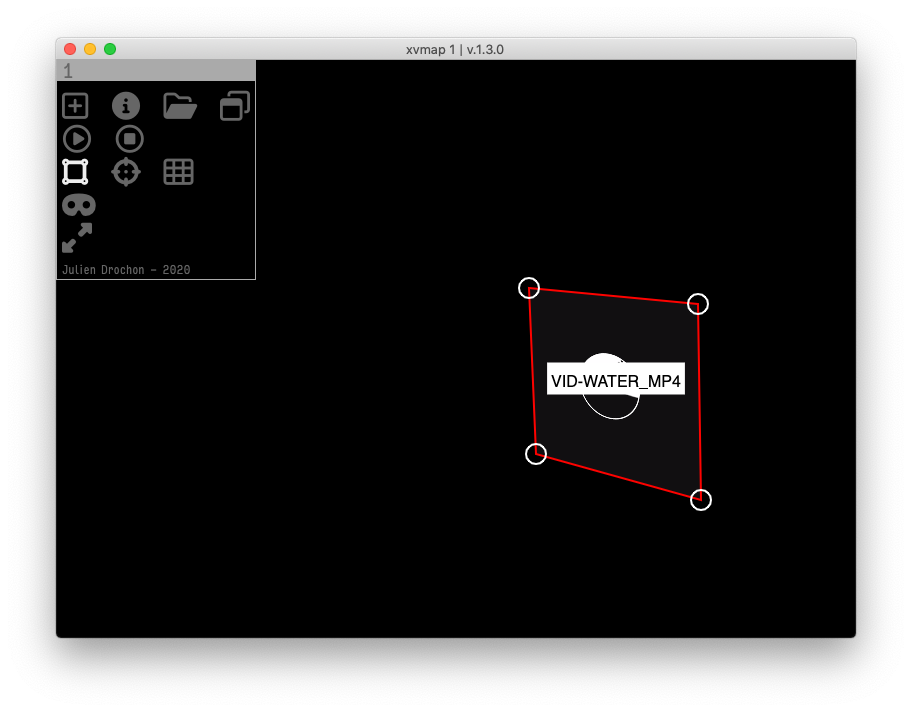
Accéder au menu du choix du marqueur
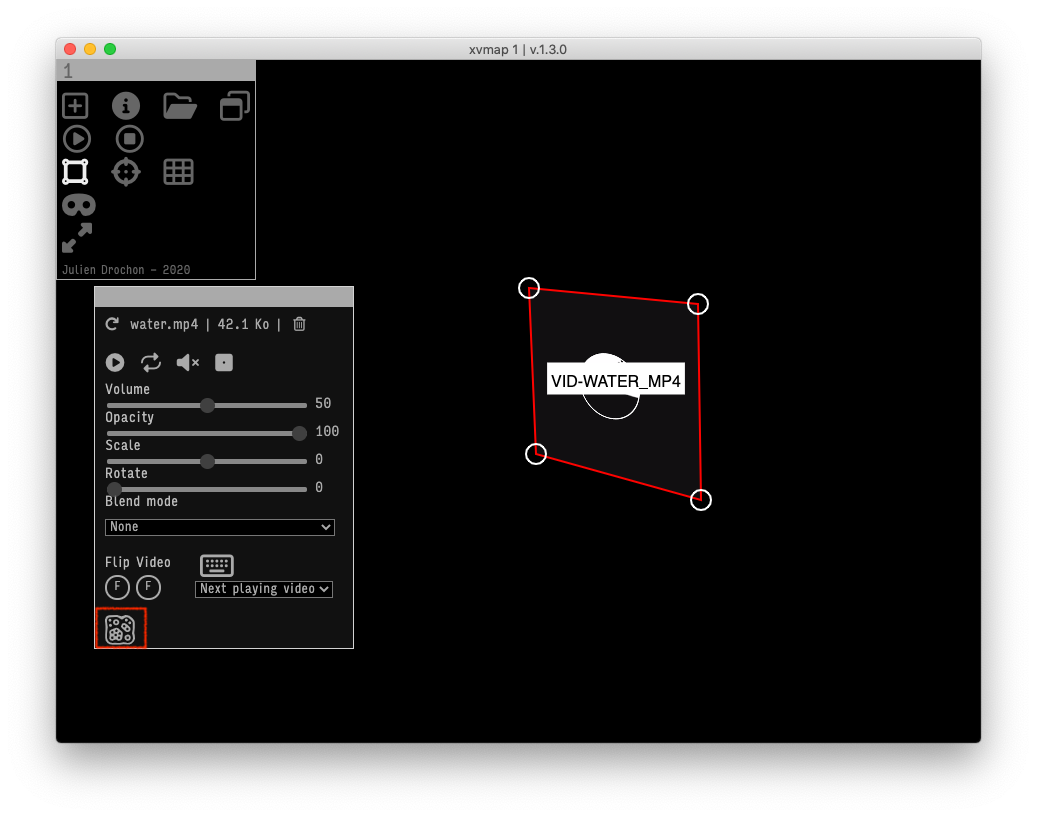
Sélectionner le marqueur
Imprimer le marqueur
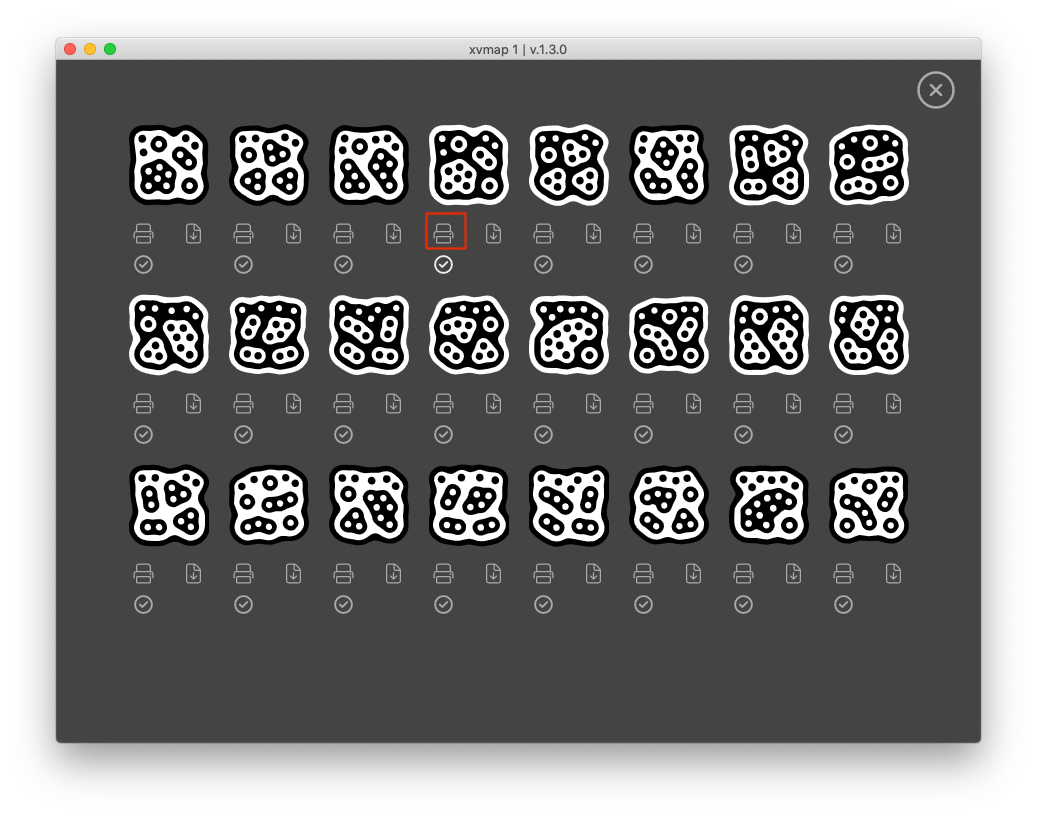
Télécharger le marqueur au format vectoriel

Ressources complémentaires
→ Github
→ Messages TUIO